
DIY geometric wood panel sliding doors
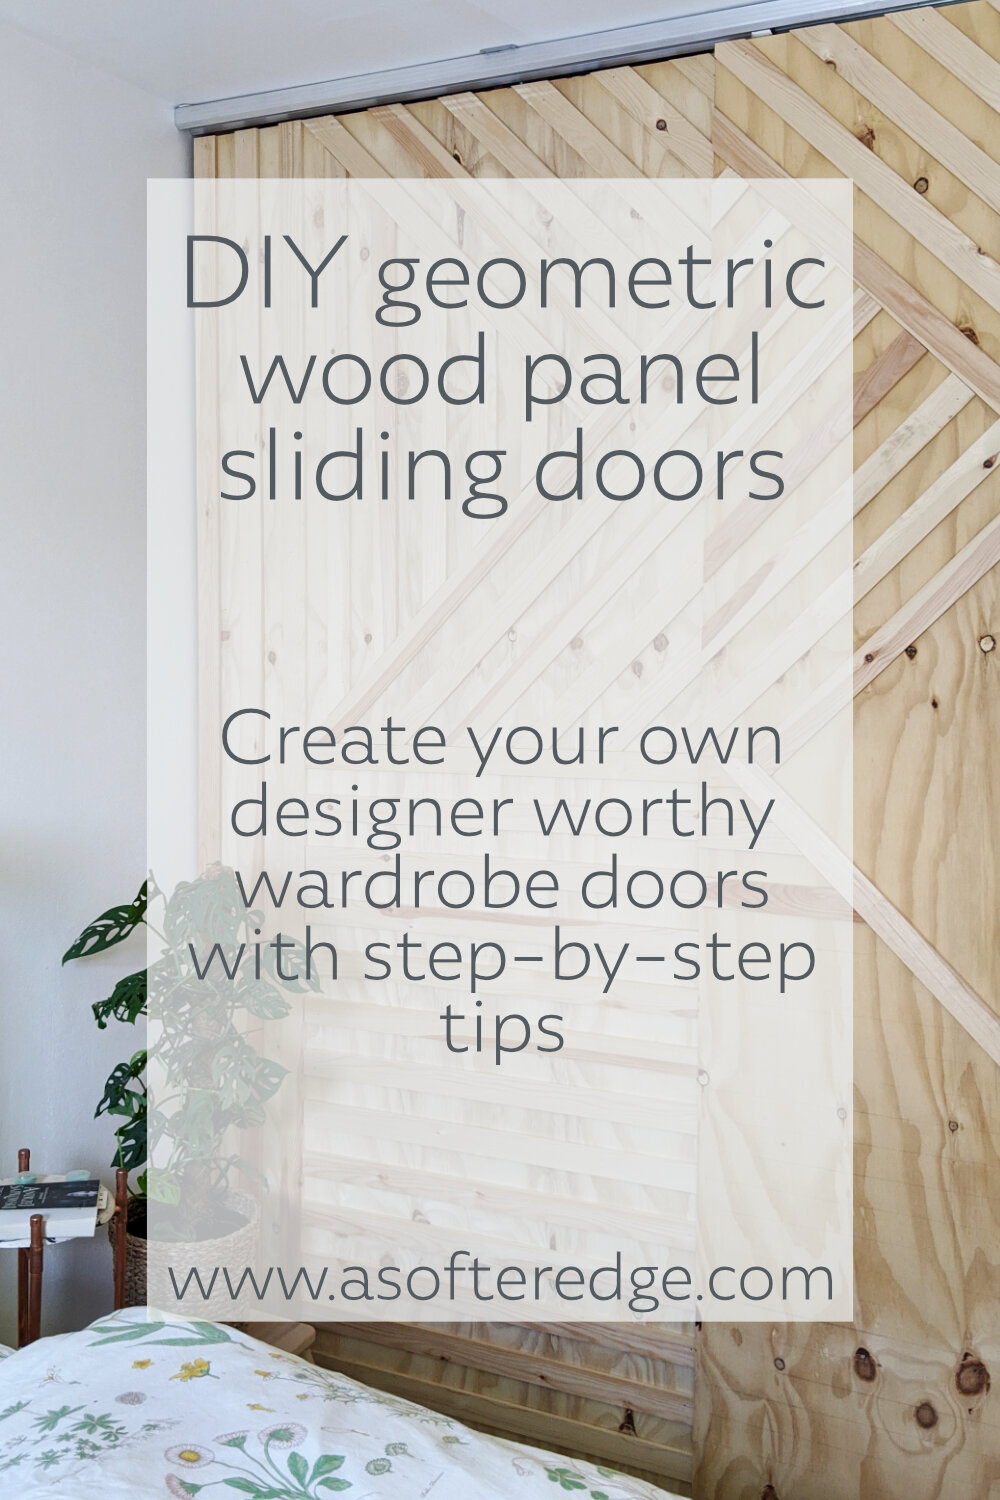
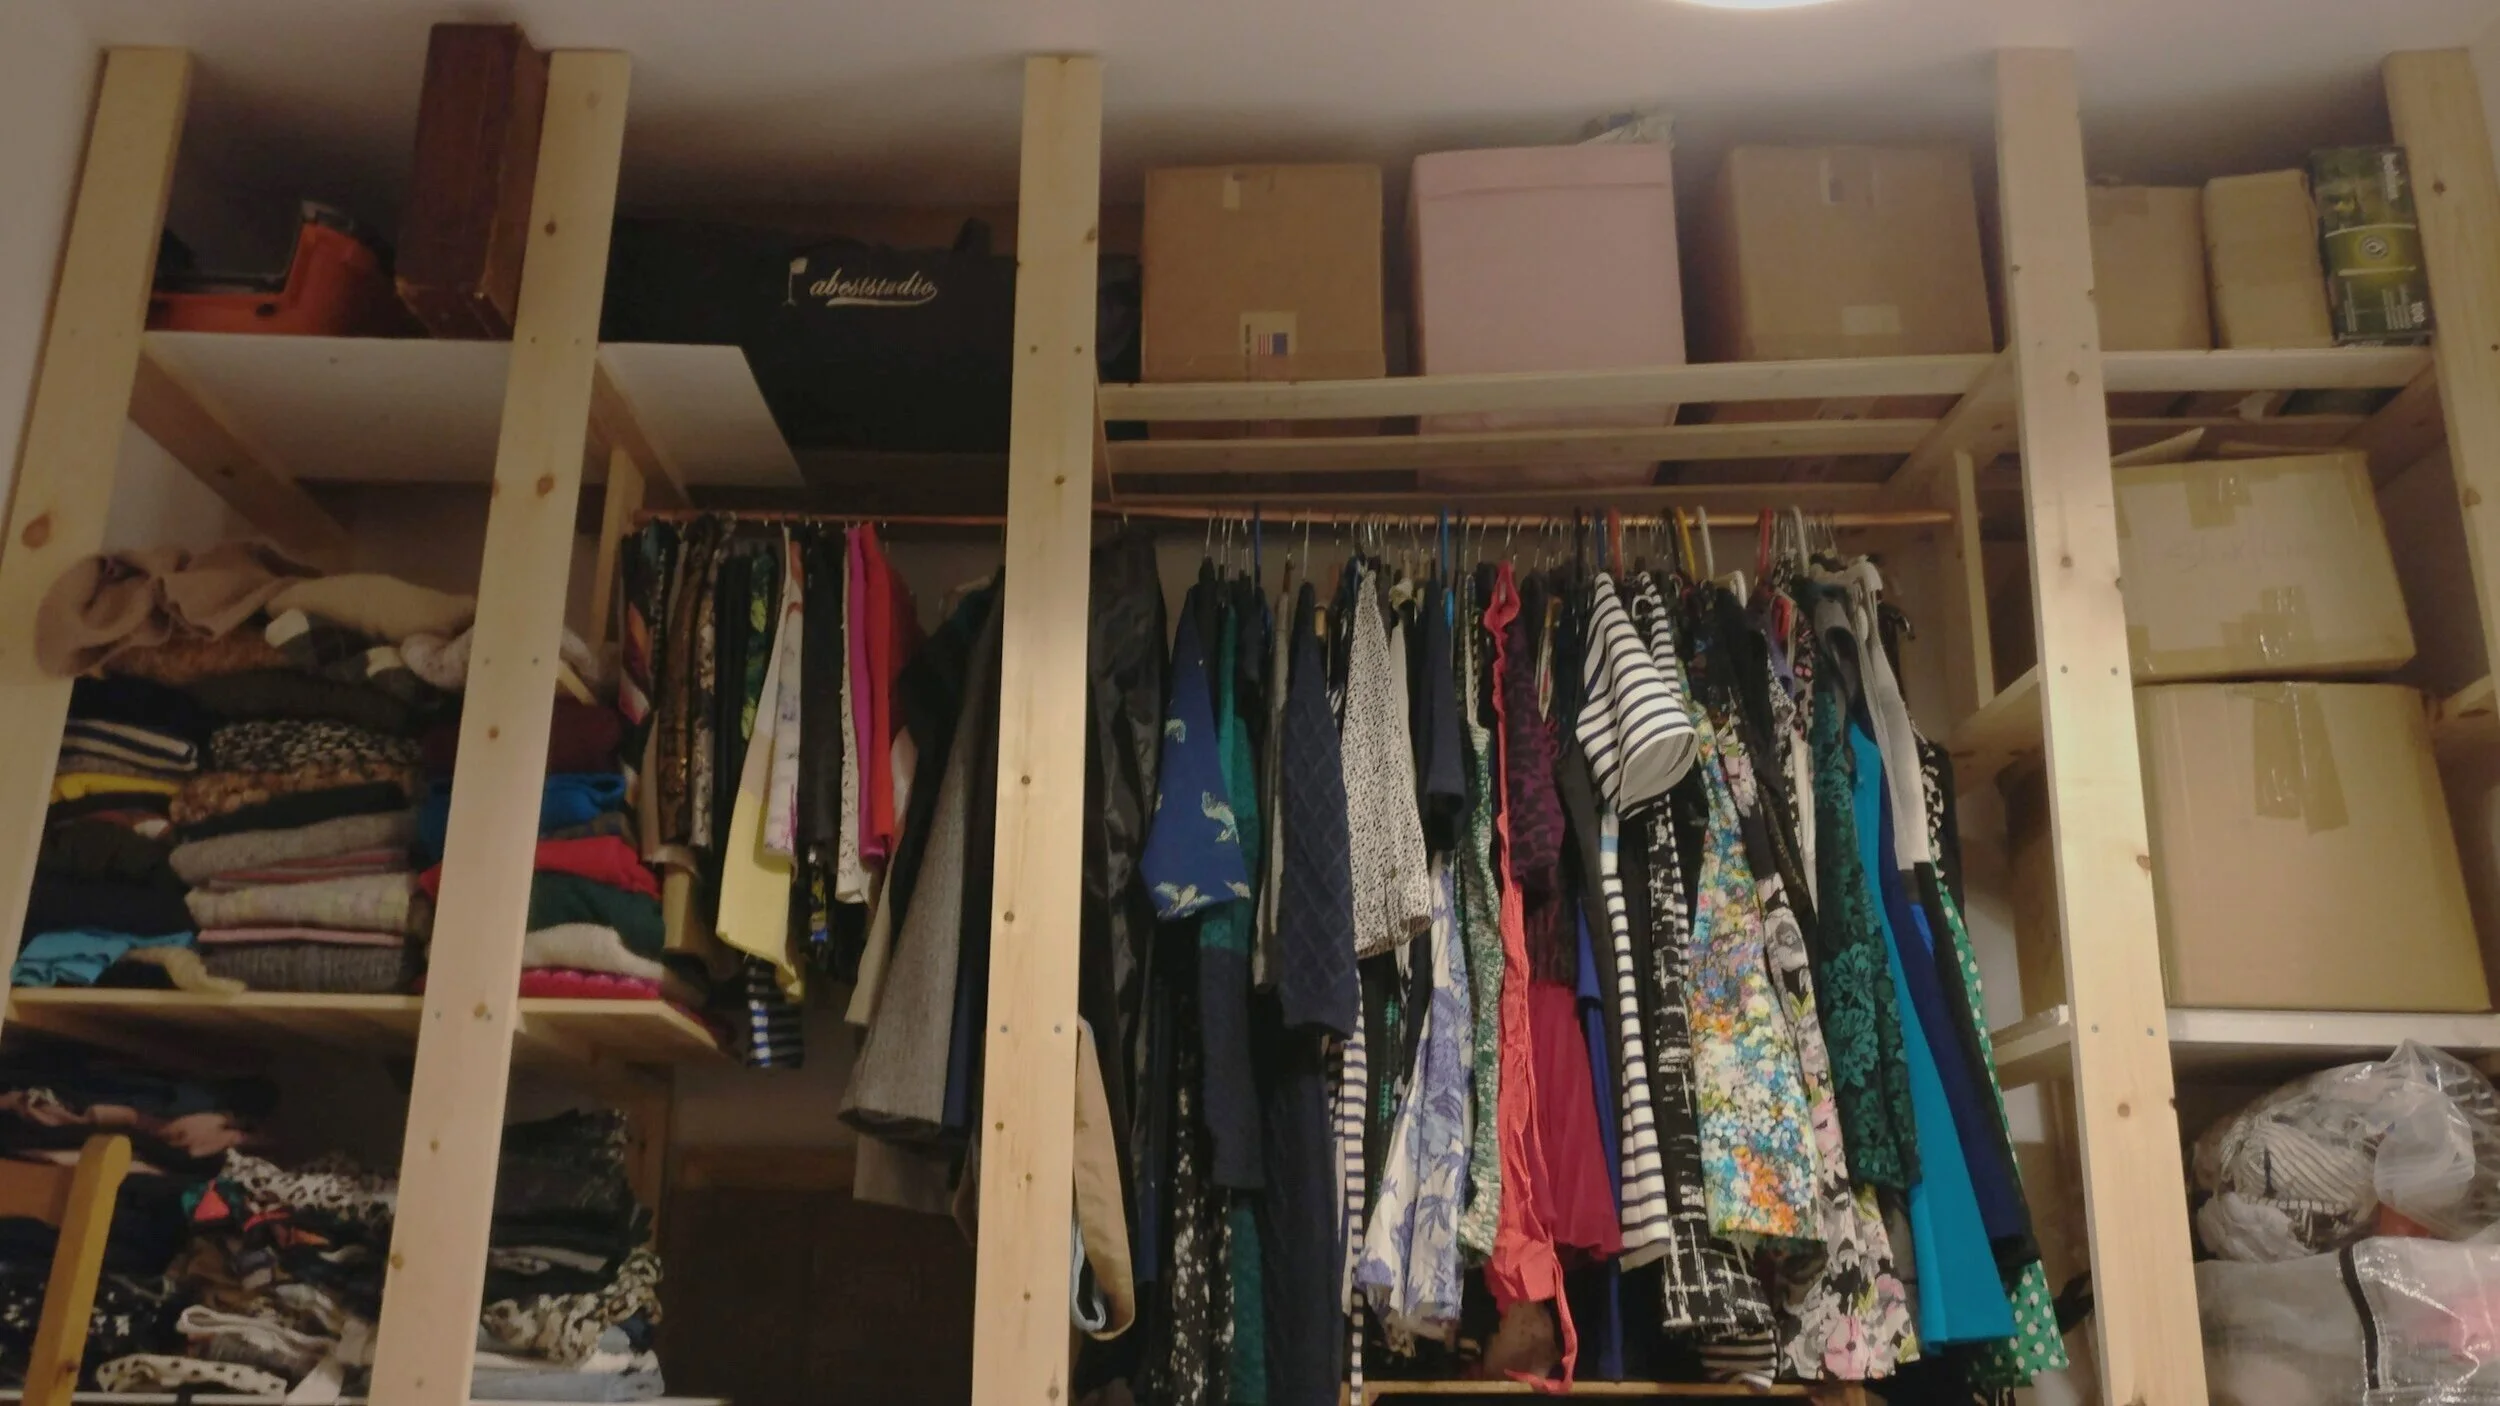
A few months ago, during lockdown, I needed a project to focus on. When we moved into our flat, we built a custom floor to ceiling wardrobe to put all our clothes (mostly mine) and a few other knick-knacks laying around. It was a great project and it went very well but because it’s a custom size wardrobe, we couldn’t find ready-made doors to fit. And there it stayed door-less until we could decide what type of doors to build.
Fast forward 2 years and a pandemic, we are finally ready for action.
I always start any kind of project by browsing Pinterest for inspiration. In my search, I came upon several images of geometric wood studs murals and doors and I just knew this was the project for us.
I loved the modern/designer feel and I could easily envision a way to make my own.
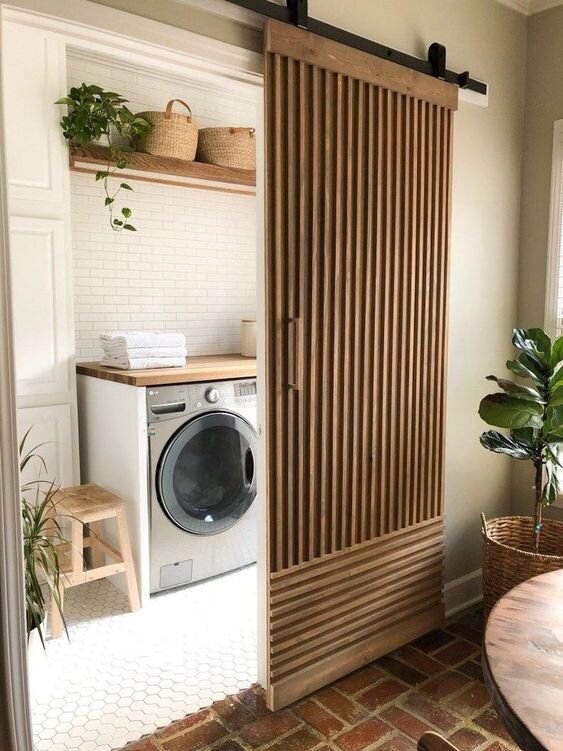
Modern Barn Door DIY by House On Longwood Lane
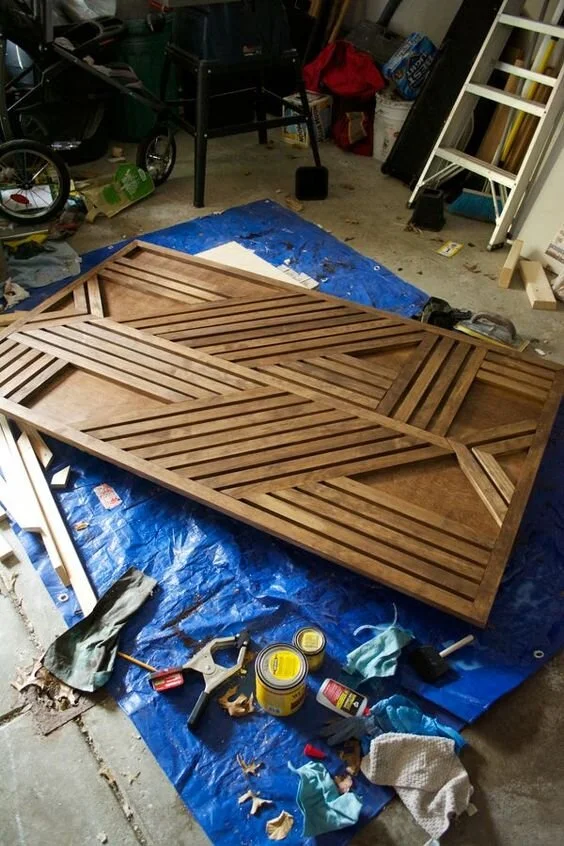
DIY geometric wood feature wall by Brepurpose
Because our wardrobe takes a whole wall of our small bedroom, we decided that sliding panels would work best. And considering the length of it, we knew we needed to create 3 panels.
The design

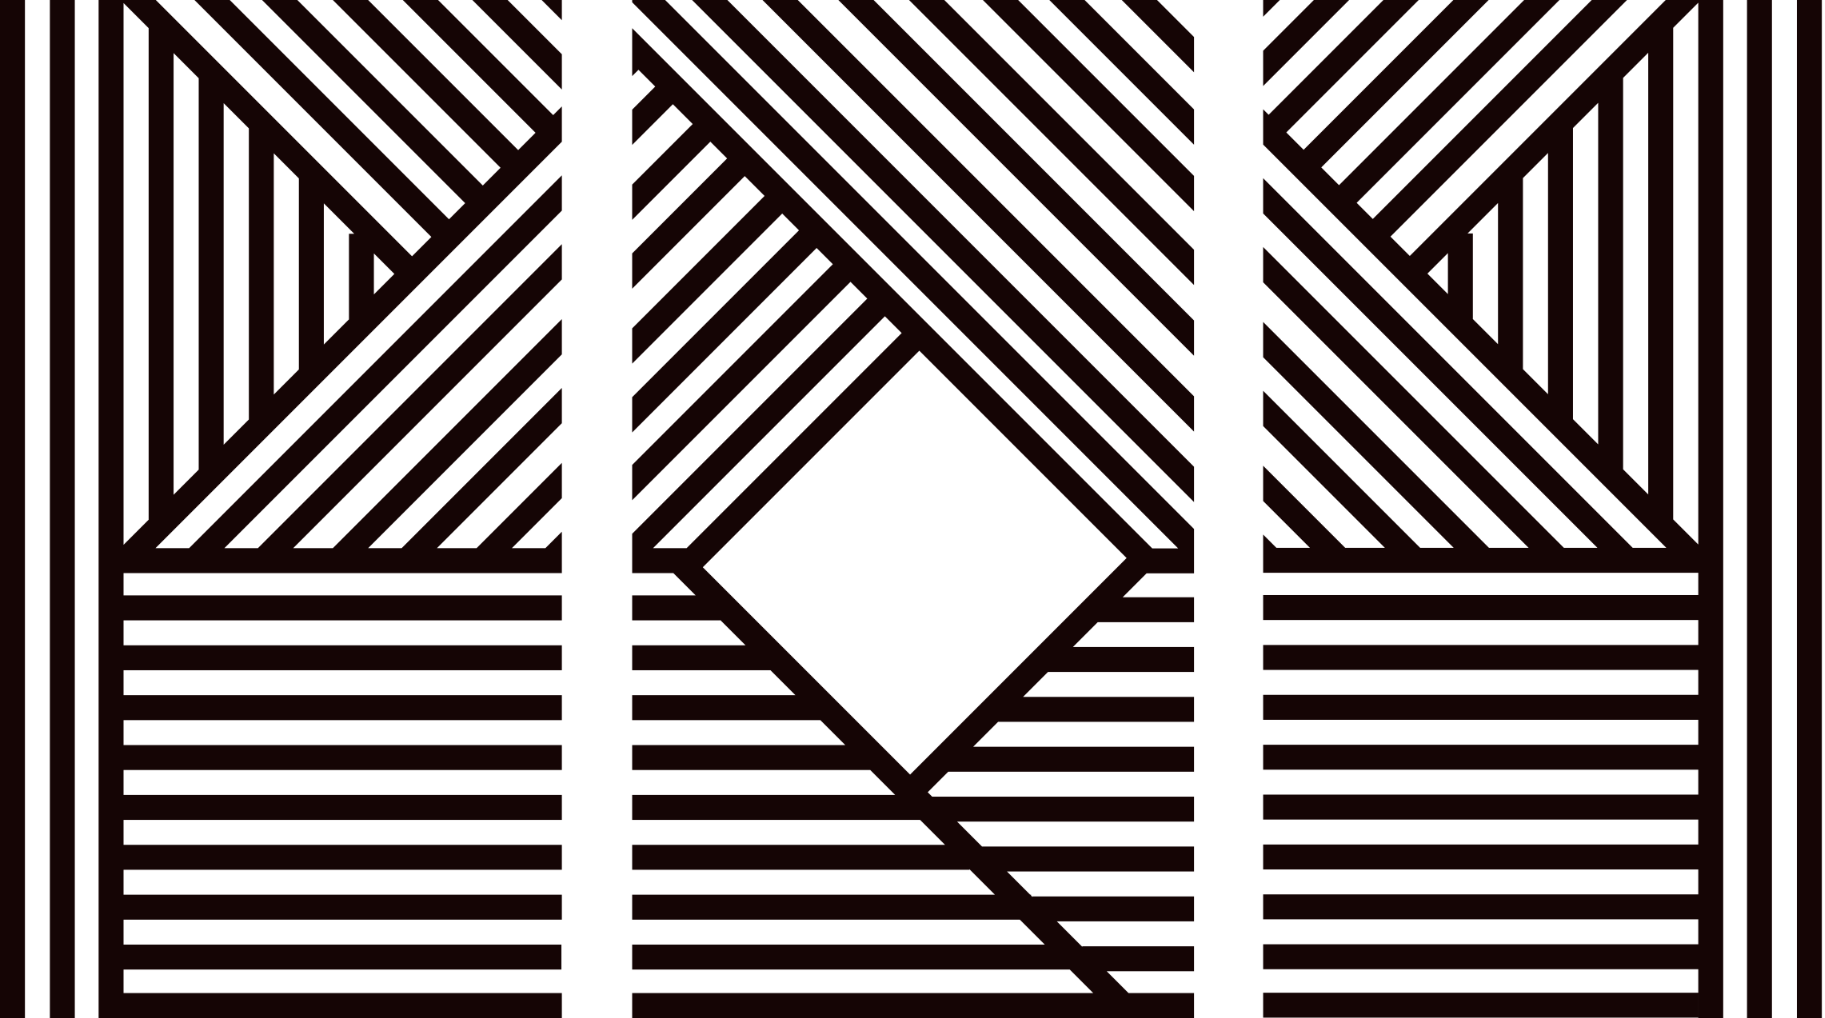
The first step of the project is to create a design for the panelling. This was really fun.
First, I worked on paper. I quickly explored several options before deciding on the feel I wanted to achieve.
Once we agreed on what direction to take, I created a digital version of our design, with the 3 panels represented.
2) Buying materials and tools
For the second step, you need to take your time and do the maths correctly. You need to know what size panel you need for your project and how many meters of studs you need to create your pattern (for reference, we ordered 70 meters of the stuff).
Here is a list of the material we bought to make our 3 door panels of 2.3m x 1m each with the geometric pattern on it. We bought most of the material from builders depot.
To make the wood panels:
- 13x50mm planed softwood PAR timber for the studs
- 3 panels of 12mm softwood plywood (it’s lighter than other wooden panels) 2440x 1220mm
- Wood glue (we used Gorilla PVA Wood glue)
- 15mm nails + nail gun (believe me, you will need one).
To attach the sliding doors:
- Rail kit (make sure it’s strong enough to hold the weight of wood panel + studs)
- Screws
The tools you need:
- A nail gun with short nails
- A circular saw (this speeds up the process of cutting the studs and also gives you neat cuts for different angles). We got an inexpensive one from Screwfix that did the trick nicely.
- A jigsaw to cut the panels to the right size.
- A sanding machine for a nice finish
3) Making process


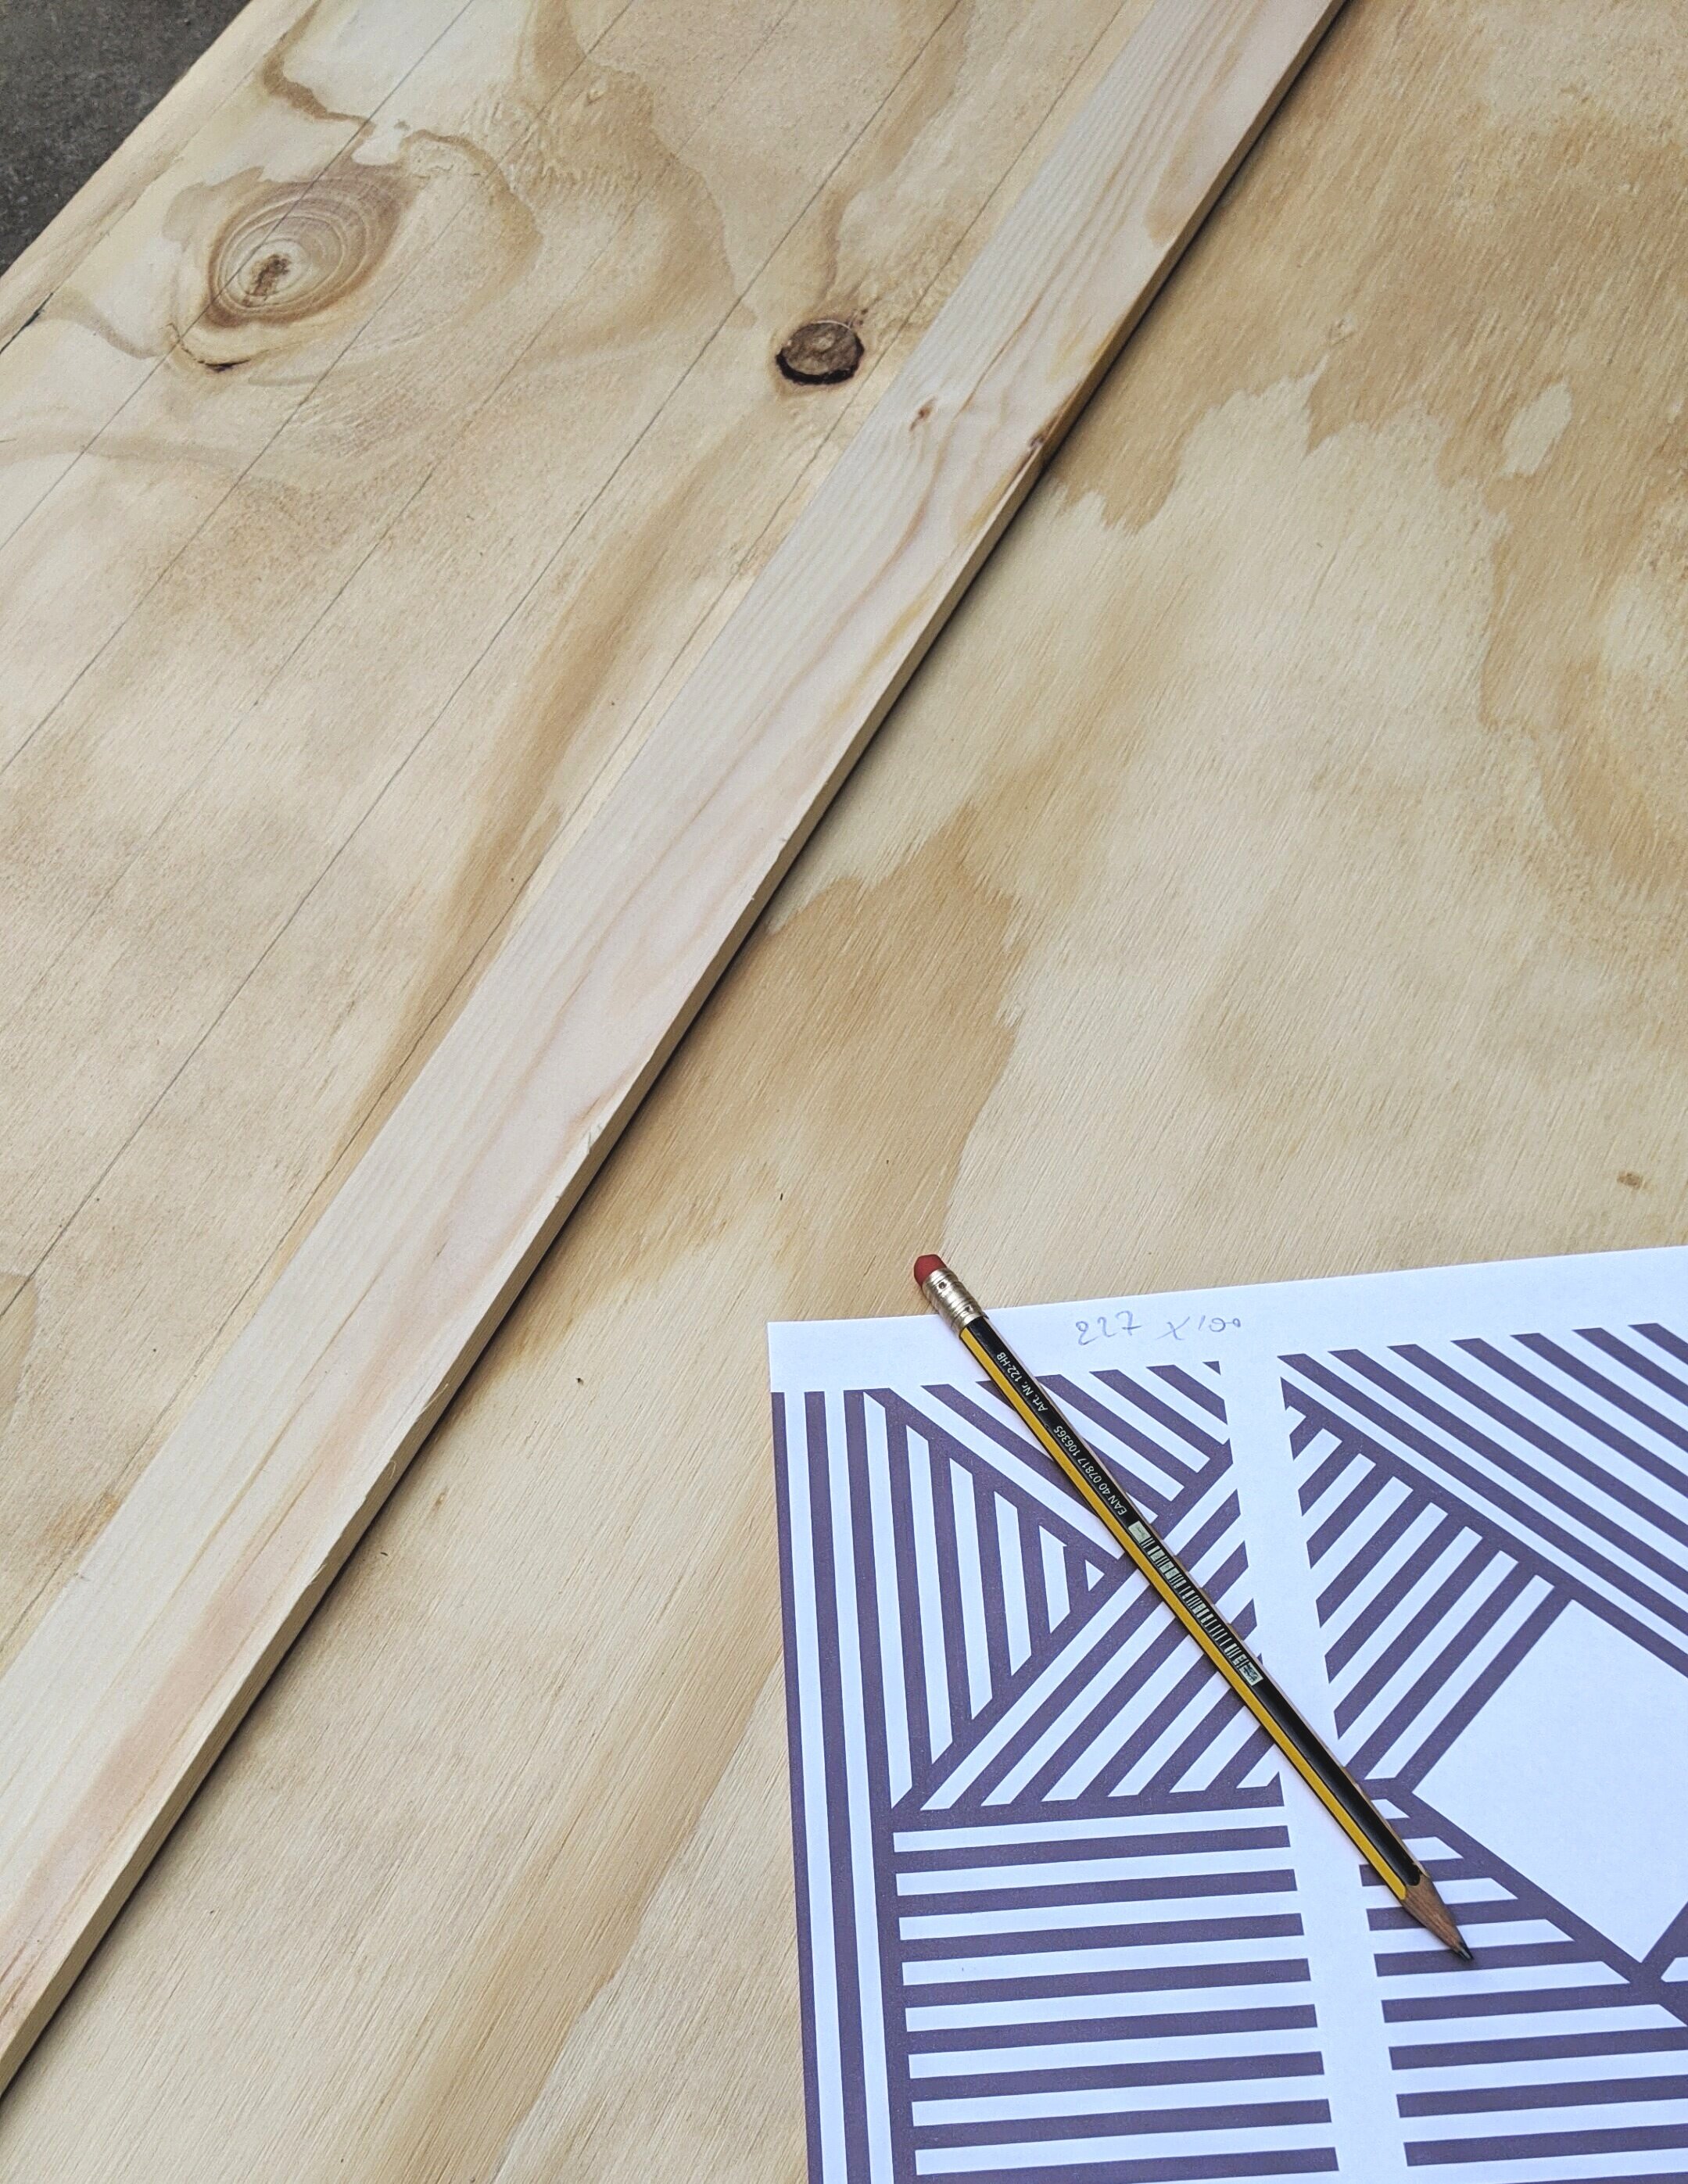
The first step was to cut the panels to the desired size. We marked out each piece of softwood and cut them to size using a jigsaw. Once you’ve cut the plank to size, give it a good sanding to make it smooth and splinter free.
After that, it’s time to draw your design onto the wood panel, using a pencil and one of the studs. It makes it so much easier to place the studs correctly afterwards. It’s also nice to see what your design is going to look like and your last chance to make changes to it.

I actually used a piece of stud to draw my design, making sure to keep the spacing accurate and even.
Now you are ready to start cutting the studs and attach them to the wood panel.
Because there was 2 of us, on person was cutting and the other attaching the studs.
You need to measure each length of stud, cut it using the circular saw and attached it to the panel.
To attach the studs, we used strong PVA glue. We also used a nail gun to hold each piece of wood flat in place (a couple of nails per stud is usually enough).
Just keep going until your design is rendered.
We decided to leave the wood natural. We like the pale blond colour so we decided to use bee’s wax to protect it without tinting it but you can tint/wax/paint the wood to fit your interior.

4) Attaching the sliding door
Once the glue and any treatment you might want to use on the wood is dry, it’s time to attach the panels to the wardrobe.
Before installing sliding doors, make sure your ceiling is strong enough to bare the weight of the doors. If you are not sure, ask a professional.
First you need to fix the rail to the ceiling. Find were your beams are in the ceiling and drill through those to securely attach the rail


We bought a rail kit for 3 sliding doors. A set of wheels is screwed to each panel.
Now it’s time to slot your door into place. The rail has 2 levels, to allow the doors to overlap each other. Place 2 doors on the inside rail (the one closest to the wardrobe) and one on the outside rail.
Voila! Your DIY designer geometric wooden sliding doors are done.

If you are looking to DIY a more rustic looking door, check out this article by happydiyhome.com which has a great step by step description on how to build your own wooden barn door.
I hope you enjoyed this post. Get in touch if you have any question and please send me photos of your own project. I would love to see what you come up with.
You can also follow me on Pinterest, Instagram or TikTok
If you’d like to receive more DIY tips and ideas, make sure to subscribe to my monthly newsletter (sign up form in the footer)