
DIY bathroom backsplash on a budget
I’m currently renovation a Victorian terraced house in London and with the prices of everything, from materials to labour, skyrocketing I have to be smart when it comes to spending.
For this reason, I’ve decided to tackle as much as I can but that doesn’t mean I’m ready to compromise on design or finish…
This DIY designer backsplash tile on a budget is just the thing to share with you: it’s a great project to tackle, it’s fun to make and you can personalise the finish to create something perfect for your home.

1- Material
I’ve been working with a water-based resin called jesmonite for a few years now. It then made sense that I would use it to create my backsplash. Jesmonite is porous but there are a few additives you can use to make it non-porous and ready to be used in a bathroom.
I love working with jesmonite for several reasons:
it’s easy to mix and fast setting
it’s water-based and non-toxic
you can easily colour it to create various effect
it’s very tough once completely dry
For my bathroom I decided to create a marble effect using greys and pinks to match the colours I used in the room.
List of material you will needs:
Foam board + clear tape and sewing pins (to create a mould)
Jesmonite pigments (you can buy small quantity of the specific colours you want on ebay or Etsy)
Wet sandpaper (120, 220, 600 and 3000 grit)
Varnish (I use Polyvine Heavy Duty Extreme Varnish with Dead Flat Finish)
beeswax polish (optional)
Metal tile trim and tile grout (optional)
Tile adhesive
Silicone
List of tools you will need:
Cutting knife and mat
Mixing bucket
Large metal whisk (or shank mixer paddle for drill if you have one)
1 notched steel trowel
Metal snips (if you are using a metal trim)
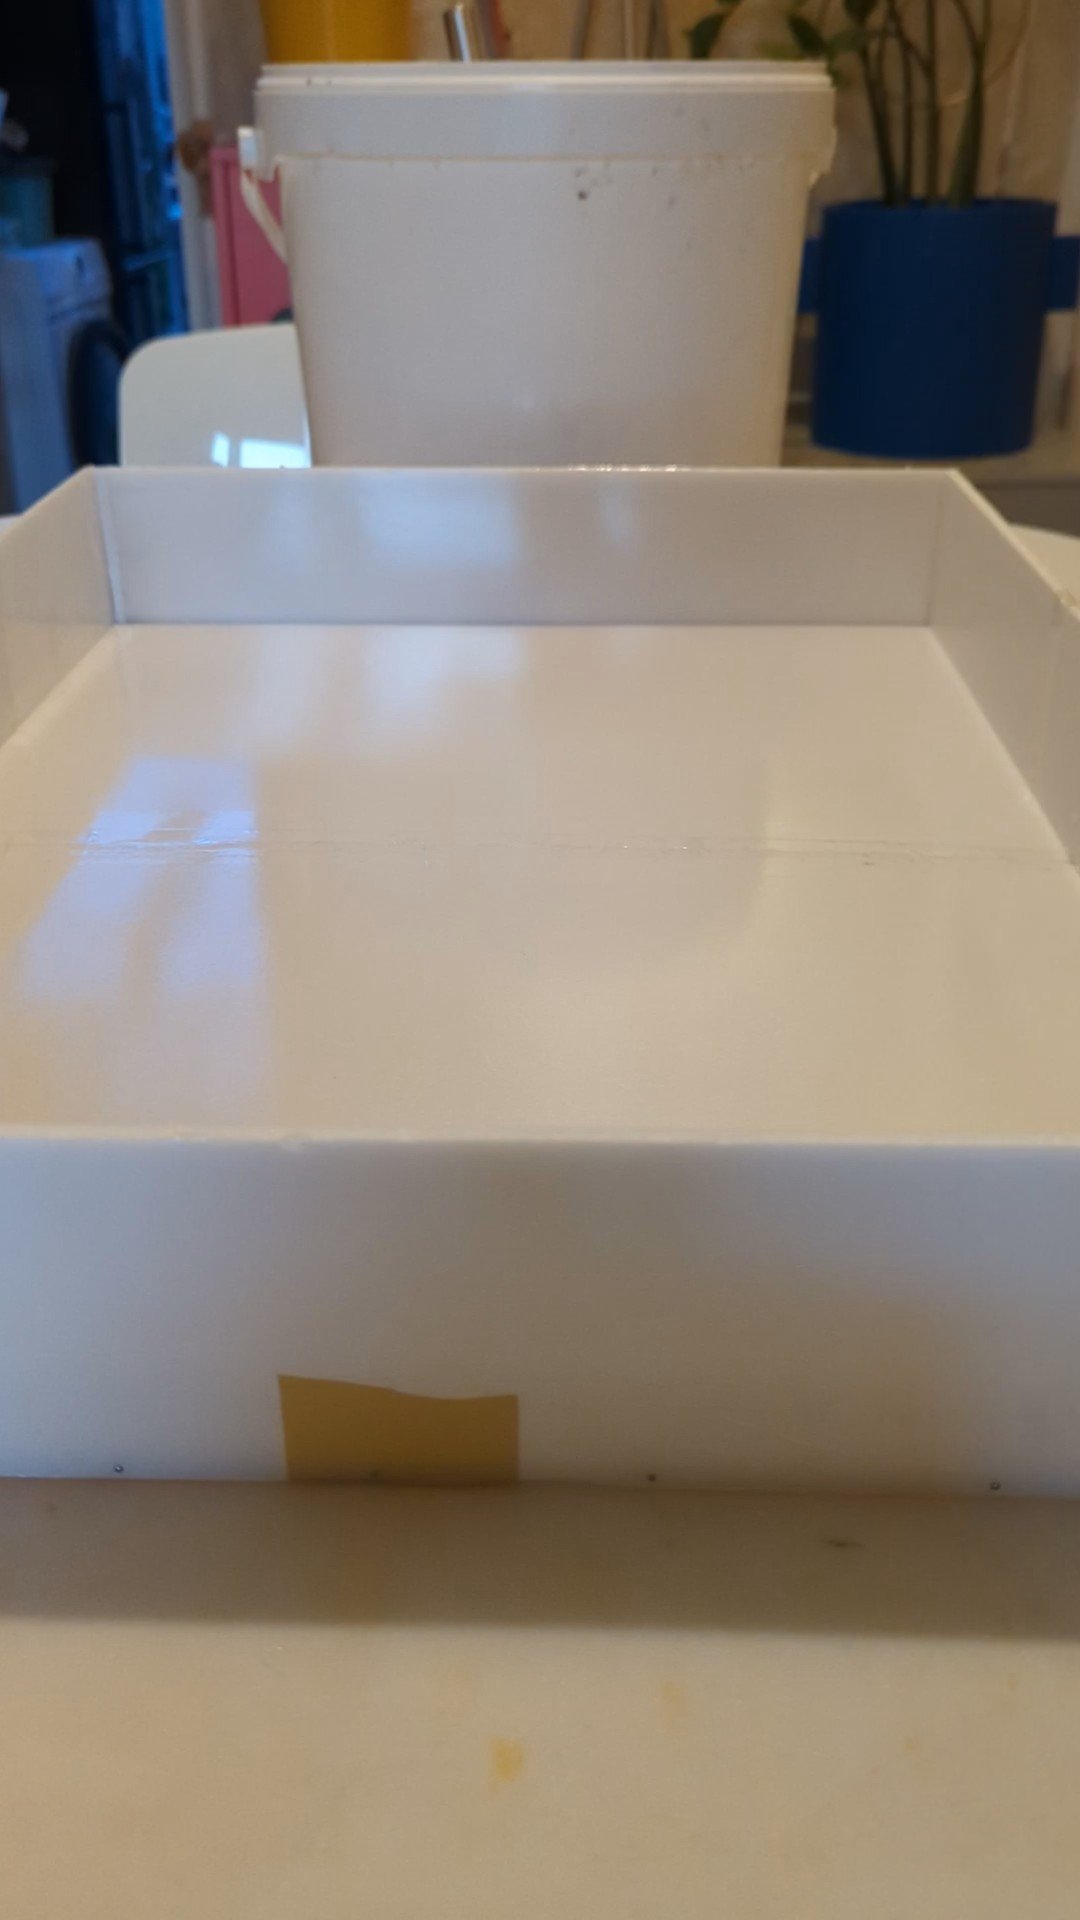
2- Creating the mould
Jesmonite is poured into mould before being left to cure. The first thing you need to do is to build a container of the desired size of your backsplash.
You will need to take the exact measurements of the tiles you want to create.
Mine was H42xL60cm. You also need to decide what thickness you want your finish tile to be. I wouldn’t advise creating anything thinner than 1 cm to avoid any rusk of snapping.


To start building your mould with foam boards, you'll need to use the measurements you've taken. Normally, a silicone mould would be used with resin, but for a one-off project with a square or rectangular shape, foam boards are an inexpensive alternative that work well. The shiny finish of the foam boards means that Jesmonite doesn't stick and is easy to unmould.
For this project, we're using 5mm A1 foam boards, which can be purchased online or at your local craft/art supply store. Essentially, we'll be constructing a frame here with a bottom and four sides that will hold the Jesmonite mix while it's drying.
Start by cutting your base to your pre-measured size. For example, mine was 42x60cm. I recommend using a cutting knife and mat to cut the foam boards to the desired size. You may need to use several foam boards taped together to reach your desired measurements. Make sure to use shiny clear tape so the Jesmonite won't adhere to it while curing.
Next, cut additional pieces of foam boards to create the size of the box (they need to be higher than your chosen tile thickness). To attach the sides to the base of the box, we'll be using sewing pins. Make sure that no pins are showing (they should be hidden inside the foam) and put as many pins as you need to ensure that all the sides of the box are holding tight and all corners are straight.
Once you have a nicely shaped frame, use clear tape on the outside of the mould to secure all the pins in place and keep the frame tight and leak-proof.
Now you should have a nice rectangular mould made out of foam boards, ready to pour your Jesmonite mixture into.
Tip:
To ensure you have a flat even tile, make sure your mould is set on a flat surface before pouring the jesmonite mixture into it. You can check using a spirit level or laser.

I’m assembling the sides of the box using sewing pins
Creating a rectangular foam board box to use as a jesmonite mould
3- Mixing the jesmonite
Now it’s time to start making your tile.
If you haven’t heard of it or used it before, Jesmonite is a water-based composite material that consists of a gypsum-based powder and an acrylic resin. When you mix them together, you get a super-strong and versatile material that artists, designers, and architects love to use. This type of resin hardens after being mixed and is perfect for making things like sculptures, furniture, or even building structures.
One of the coolest things about Jesmonite is that it comes in different colors and can be molded into all sorts of shapes and sizes. So, if you want to create something unique and durable, Jesmonite resin is the perfect material to use.
For this project I’ll be using jesmonite AC100. I use this type of jesmonite because it has a very smooth finish and is easy to colour. It’s perfect for marbling effect. There are a lot of different types of jesmonite you can use and explore depending on your project and what you want your finish product to look like. You can find out more information on jesmonite.com
a- Calculating how much material you need.
Before you can order your jesmonite kit, you need to know how much material you will need.
Luckily, there are websites than can help you with than so you don’t have to guess.
First you want to know the volume of your mould. We made a rectangular shape mould so calculating the volume is easy enough. Just use the following formula: Length x Width x Height.
My backsplash needs to be 60x42x1cm=2520cm3
The jesmonite calculator will ask you for a volume in ml but fear not as 1cm3=1ml
Here we have a total volume of 2520ml.
To know how much jesmonite you need to fil a mould, I use jesmonitecalculator.com
For my project I will need a total of 4410g of jesmonte mix, which is made of 3150g of powder and 1260g of liquid.
The size of your project will determine how much jesmonite you will need to buy. For my project, I order a 7kg kit. Make sure you order the kit that include powder and liquid.
b- Mixing the jesmonite and adding pigments
Mixing powder and liquid together
First, prepare your Jesmonite mixture according to the manufacturer's instructions. Jesmonite typically comes in two parts - a powder and a liquid resin - which need to be mixed together in the correct proportions.
Gather all the necessary equipment, including Jesmonite AC100, retarder, mixing cups, mixing tools (such as a spatula or stirrer), and any pigments or other additives you want to use. Follow the manufacturer's instructions to mix the Jesmonite AC100 powder and liquid in the correct proportions. This will typically involve mixing the powder and liquid together until you get a smooth, lump-free mixture.
You can mix your mixture by hand using a metal whisk or with a drill, using a shank mixer paddle. As we are mixing large quantity of products, you might find mixing by hand a little challenging (it’s like mixing pancake batter for 20 people in one go).
Mixing jesmonite
Adding the retarder
Jesmonite starts curing quickly so to give ourselves a longer working time, we are adding a jesmonite retarder to our mix, before adding any pigments.
Once you have a smooth jesmonite mix, add the retarder to the Jesmonite mixture. You'll want to add around 2% of retarder to the total weight of the Jesmonite mixture. (for me that’s 44g). Use your mixing tool to thoroughly blend the retarder into the Jesmonite mixture. It's important to mix the retarder in evenly to ensure that it works effectively to slow down the curing time.
Using pigments to create a marble effect
I love creating marbling effect using jesmonite pigments. It’s a simple process that guaranties a stunning result.
For my backsplash, I use pink, black and red pigments to match my bathroom decor. I didn’t colour my jesmonite base and left it a creamy white colour. If you want your background to be of a specific colour, add pigments to your mix before you start marbling and mix until you’ve reach an even colour.
Feel free to use any colour you want to suits to interior. The possibilities are limitless
Here is how you can create a marble effect on your tile:
Take a small amount of a contrasting colour pigment and sprinkle it onto the surface of the Jesmonite mixture (I usually add a few drop of each colour to my mix). You can use a whisk or a toothpick to swirl the pigment around, creating a marbled pattern. Be sure to work quickly, as Jesmonite sets quite fast.
Continue adding more pigment and swirling until you're happy with the marbling effect. You can create a subtle or bold effect depending on how much pigment you use.
Once you’ve achieved the desired effect, pour your mix into the mould.
Make sure the mixture is evenly distributed in your mould. You can shake your mould to help this process and get rid of air bubble trapped at the bottom in the process.
Leave the Jesmonite mixture to set and cure for about 10-15min or until it starts to harden.
Quickly run a notched steel trowel on the back of your tile to create ridges. This will help the finished tile adhere to the wall.
Once the Jesmonite is fully cured, you can remove it from the mould or surface and admire your beautiful marbled creation!
Tips: once set, the pigments always appear lighter than in the wet mix.
Sanding your tile
Once you have unmoulded your tile, you might notice a few imperfections on the front. Do not worry because we are about to get rid of them by wet sanding the jesmonite. For this project I would recommend sanding by hands rather than using a machine as it shouldn’t take too long.
I find the quicker to start sanding after unmoulding, the easier it gets. On a marbling effect you usually don’t have a lot of sanding to do. The idea here is to get rid of any unwanted marks and to make the tile as smooth as possible.
It can be a little messy, especially with a large piece. I would typically to this on my kitchen countertop because it’s a large flat surface and it’s easy to clean.
1- first, wet your tile and keep a bucket a water close by.
2- Start working with the 150 grit paper. Deep it into the water bucket and go over the entire tile. Work a little deeper around the areas with noticeable markings.
3- Rinse the tile before using a finer sanding paper. Repeat these steps, using finer sanding paper as you go from 220 grit up to 3000 (super fine).
You should now have a very smooth, mark-free tile. Put it on the side and let it dry.
Sometimes, the sanding process can dull out the colours a little. If that’s the case, wait until the tile is completely dry and apply some soft beeswax polish to the front of the tile. Wait about 20min for the wax to absorb before buffing the tile with a cloth. This should brighten the colours of the tile.
Finishing the tile
Once your tiles has been sanded smooth and i dry, it’s time to add the finishing touches before you can attach your work to the wall.
Because Jesmonite is a porous material, it’s important to treat your tile with a sealant to make in stain and waterproof. You can use a porous stone sealant to this effect, just like you would on granite or marble.
Because I work with jesmonite all the time, I buy my sealant from a specialised merchant (ProtectGuard MG), only available in large quantity. But if you are only using jesmonite for this product, I recommend using a product readily available such as Lithofin MN Stain-Stop as it will be a lot more cost efficient.
Apply the sealant to the back of the tile and leave it to be absorbed.
Once the tile is dry again, you can apply thin layer of varnish to the front of the tile for extra protection.
I like to use 2 coats of Polyvine Heavy Duty Extreme Varnish with Dead Flat Finish. It works wonder for this.
Apply the varnish with a good quality brush for better results.
4-Installing your backsplash
Now that your tile is ready, you need to attach it to the wall.
I’ve decided to put a tile trim around my tile for a more polish look but that’s totally up to you.
If you don’t need a trim, skip the next step.
a- Adding a metal tile
Because I have a lot of copper in my bathroom and I had some trim left over, I decided to use a copper trim around my tile. Copper trim can be quite expensive but you can buy chrome trim for a lot cheaper.
Choose a trim that’s the right thickness for your tile. Mine is 1cm thick so I pick a 10mm trim.
First you need to cut your trim to the right size. For this, measure along the 3 sides of your tiles that will be visible and cut the trim to that length.
Mine was 42+60+42=144cm
Use snips to cut part of the trim so you can bend it and wrap it around your tile, just like in the above video.

b- Attaching the tile to the wall
The moment has finally come for you to attach your beautiful tile to the wall behind your sink.
To do that, you will need to mix some tile adhesive. Just follow the instruction on the bag. For just the one tile, you won’t need to mix much adhesive at all.
You can put some adhesive around the edge of the tile to hope the trim in place if you have used one.
Cover your sink and tap if they are already in place to avoid dropping adhesive all over them.
Then add some splodges of adhesive onto the back of your tile and place it carefully against the wall.
Push the tile gently and make sure your tile is straight and properly attached to the wall.
You might want to use tape to hold it in place while the adhesive is drying (usually 12 hours).
Is you’ve used a metal trim, I recommend using grout to fill the gap between the trim and the tile itself. This makes for a neater finish.
c- Seal the edge with silicone
One your tile is safely in place and the adhesive and grout are dry, run a line of transparent silicone between the bottom of your tile and your vanity cabinet to make sure no water is running under your tile.
d- Cleaning tips
I would recommend cleaning the tile will hot water and a mild soap, using a non scratchy sponge or a cloth.
Congratulation, you are now done! Pat yourself on the back and admire your hard work!
I hope you enjoyed this post. Get in touch if you have any question and please send me photos of your own project. I would love to see what you come up with.
You can also follow me on Pinterest, Instagram or TikTok
If you’d like to receive more DIY tips and ideas, make sure to subscribe to my monthly newsletter (sign up form in the footer)